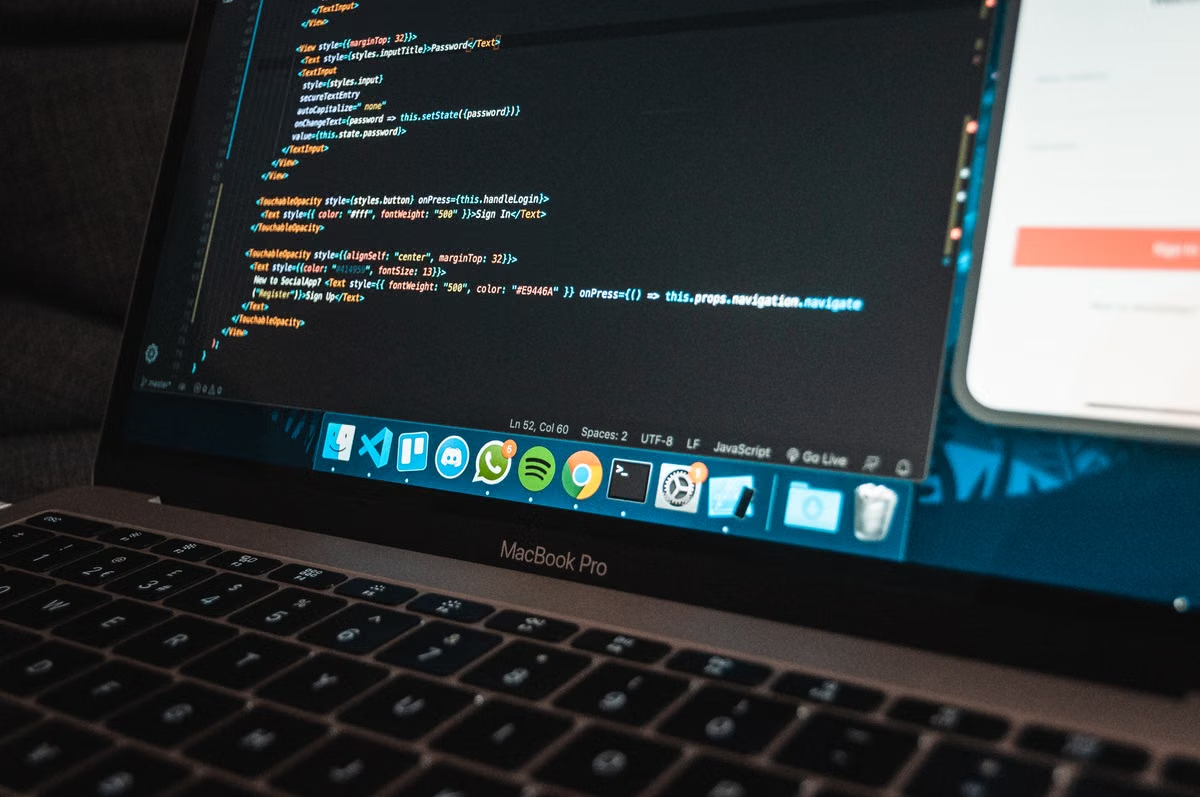
The official Open Higgsfield quick-start documentation lists Node.js and pnpm as part of the setup path before you open the workbench in a browser. That gives you the first decision point: use Open Higgsfield when you need one interface for multiple generation models, self-managed API credentials, and locally retained prompts and media. Before public access, confirm your runtime, disk layout, reverse proxy, authentication, and quota controls.
This week’s action: complete one local image or video generation first. Then move the same deployment to an internal host. Do not expose it publicly until the API key and access boundary have been tested.
Last updated September 21, 2026. Project behavior was checked against the Open Higgsfield repository, its security notes, and the OpenRouter documentation and model directory available at publication time.
Choose the deployment stage before changing configuration
Open Higgsfield is not just a local interface. Your operating requirements change when the same workbench moves from a personal laptop to a shared server.
| Deployment stage | Best use | Credential boundary | Data responsibility | Main risk | Editorial fit |
|---|---|---|---|---|---|
| Personal local trial | Validate the interface and one model request | One server-side test key | Local database and media directory | Configuration mistakes | Strong starting point |
| Team internal host | Share prompts, outputs, and repeatable workflows | Central secret with controlled operator access | Shared backups and retention rules | Accidental quota usage | Best for small teams |
| Remote private service | Let approved users work from different locations | Proxy authentication plus server-side key | Persistent disk and restore testing | Stolen session or exposed endpoint | Good after hardening |
| Public workbench | Serve users outside your private network | User identity, TLS, limits, and monitoring | Formal privacy and cleanup process | Uncontrolled API spend and data exposure | Use only with clear controls |
The table is a decision aid, not a promise that every deployment has the same storage or security behavior. The repository’s environment and security documentation remain the authority for the version you deploy.
For a developer, the local stage removes networking variables. For a content team, the internal stage usually gives a better balance. You can centralize model selection and keep the provider key away from individual browsers. For a remote service, the reverse proxy becomes part of the application boundary, not an optional add-on.
If you need a remote Mac environment for testing, review the available cloud Mac access options only after you have defined your disk and access requirements. The host location should follow your users, privacy obligations, and expected network path. It should not be chosen only because the checkout page is convenient.
Start with the smallest local generation loop
The goal of the first session is not a polished production installation. It is a complete request path that you can inspect.
1. Prepare the runtime
Install a supported Node.js runtime and pnpm version according to the repository instructions. Avoid guessing versions from unrelated projects. A mismatch can appear as a dependency error, a failed build, or a browser page that loads without a working server request.
Use a clean project directory. Keep the source separate from generated media. That makes later backup and migration checks easier.
2. Obtain the source and install dependencies
Follow the repository’s quick-start commands rather than copying commands from an old issue or an unrelated fork. After dependencies finish, inspect the project’s environment example and identify:
- The server-side provider credential.
- The selected model or model-routing value.
- The application port or local binding.
- The data directory or persistence setting.
- Any authentication-related values supported by the deployed version.
Do not commit a populated environment file. A blank example file can be tracked. A file containing an active OpenRouter key cannot.
3. Create a test environment
Use a restricted test key with only the access you need. Store it in the server environment expected by the project. Do not paste it into React components, browser storage, a prompt template, a README, or a team chat.
The OpenRouter developer documentation is useful for understanding the API boundary, but Open Higgsfield’s own environment instructions determine how the application reads that credential.
Security note: If a key has appeared in browser developer tools or a committed file, treat it as exposed. Revoke or rotate it before continuing. Removing the visible text from the latest commit does not prove that the credential has disappeared from repository history.
4. Start the development server
Run the documented development command. Open the local browser address shown by the project. If the page loads but generation fails, separate the fault into four layers:
- The browser sends the form request.
- The application server reads the environment.
- The server sends the model request through OpenRouter.
- The response and generated files are written to local persistence.
This separation prevents a common mistake: changing the model name when the real problem is a missing environment value or an unwritable data directory.
5. Test one image request
Start with a short prompt and a single image task. Record the model identifier, prompt, timestamp, request status, output path, and any provider error. Do not begin with a large batch. You need a traceable result before you evaluate quality or cost.
Check whether the history view retains the prompt and result after a page refresh. Then stop and restart the development server. If the record disappears, you have learned that the data is not being persisted where you expected.
6. Test one video request separately
Image and video generation should not be treated as the same operation with a different file extension. Video requests can have different input fields, response timing, output handling, and provider restrictions. Use the OpenRouter video generation documentation to understand the request category, then verify how the current Open Higgsfield build maps that request into its interface.
Wait for the full job result before evaluating persistence. A browser tab closing early may leave a queued or incomplete task that looks like a storage failure.
Move from personal use to a controlled team workspace
A personal directory and a shared workbench solve different problems.
Your local setup can tolerate a simple directory structure and one operator. A team environment needs ownership rules. Decide who can submit jobs, who can change the provider key, who can delete media, and who can restore a backup. These do not need to be separate application roles if the project does not implement them, but they still need an enforced boundary around the host and proxy.
Keep these items distinct:
- Credentials: stored only on the server or in a managed secret location.
- Prompts: treated as potentially sensitive creative or commercial material.
- Generation history: linked to model parameters and request status.
- Original inputs: retained separately when licensing or client approval matters.
- Generated outputs: stored with a predictable ownership and cleanup rule.
- Temporary files and thumbnails: included in privacy review and cleanup checks.
A shared workbench should not rely on every user understanding shell permissions. Put the service account, application directory, data directory, and backup destination under explicit ownership. Limit shell access to administrators. If the team needs remote development, separate developer access to the host from end-user access to the generation interface.
Review the project’s security guidance before adding external access. It is especially important to compare the repository’s current assumptions with your proxy, operating system, and identity layer. A secure application behind an open administrative port is still an exposed service.
Manage OpenRouter models and costs without hard-coding old prices
OpenRouter API is the routing layer, not a reason to copy a static price list into your internal documentation. Model names, providers, limits, and prices can change. Use the current OpenRouter model directory when selecting a model and record the retrieval date in your team notes.
Do not publish a fixed model price unless you have checked the live provider page at the time of publication. A better cost record contains:
- Model identifier.
- Provider route, when exposed.
- Input type: text, image, or image-plus-text.
- Output type: image or video.
- Prompt and input asset reference.
- Request status.
- Usage or billing data returned by the provider.
- Retry count.
- Human approval or deletion status.
Separate four workflows in your UI and operating notes:
Text to image: store the prompt, model, dimensions or quality options exposed by the application, and the returned media path.
Image to image: retain the source image reference and transformation prompt. This matters for both reproducibility and rights management.
Text to video: record the prompt, model, job state, and final output. Treat incomplete jobs separately from failed requests.
Image to video: preserve the input asset and its relationship to the video result. A filename alone is not enough if the asset directory is later reorganized.
If a request fails, do not automatically retry forever. A retry can create duplicate charges or duplicate records. Use an explicit retry policy, record the original failure, and inspect whether the failure came from validation, provider availability, timeout, quota, or local storage.
Protect a remote deployment with layered access controls
Localhost is a useful default because it limits the first test to the host machine. It is not a complete remote deployment design.
The project provides a reverse-proxy deployment section. Use it as the application-specific reference for proxy forwarding and host handling. Then add controls outside the application:
- Bind the application to the intended private interface.
- Put a reverse proxy in front of it.
- Pass the expected host and forwarding headers.
- Require authentication before the workbench is reachable.
- Enable TLS for remote sessions.
- Restrict inbound access by network, VPN, or approved identity where possible.
- Add rate limits and request-size limits.
- Monitor failed logins, generation errors, and unusual request volume.
- Rotate the provider key when staff or contractors leave.
- Test the service from both an approved network and a denied network.
Authentication protects the interface. It does not automatically create per-user quota accounting. Anyone who can submit a request may consume the shared API allowance. If the project does not provide user-level budgets, place the service behind an identity-aware gateway or restrict it to a trusted internal group.
Operational reminder: Never treat an unprotected public URL as a temporary shortcut. A crawler, leaked link, or forwarded screenshot can give an unknown person a path to your provider quota and private generation history.
You also need to decide whether the proxy should expose only the workbench or any development endpoint. Keep debug routes, source maps, administrative interfaces, and database files out of the public path. Test direct access to the application port and the proxy URL separately.
Build backups around both records and media
A generation history is incomplete if it contains prompts but not outputs. A media folder is incomplete if it has files without the database references, model parameters, and request status that explain them.
Identify the project’s actual persistence paths in the deployed checkout. Depending on the current implementation, you may need to protect a SQLite database, media directories, thumbnails, prompt records, model settings, and temporary files. Do not assume that a single application directory contains everything.
Use this migration sequence:
- Stop new generation requests.
- Record the application version and environment variable names.
- Copy the structured database.
- Copy generated media and required source assets.
- Preserve file ownership and permissions.
- Restore into a separate test directory or host.
- Start the application against the restored data.
- Confirm that history entries open the expected files.
- Run one new test generation.
- Re-enable team access only after the restore passes.
For privacy-sensitive work, inspect logs, thumbnails, temporary uploads, and failed-job artifacts. The OpenRouter privacy documentation for video generation should be part of your provider review, but it does not replace your own retention policy. Your proxy logs and local temporary files may contain information even when the provider’s retention terms are acceptable.
Set a cleanup rule based on business value. Delete abandoned temporary files first. Keep approved outputs and required source assets longer. If clients request deletion, remove the database reference, media file, thumbnail, backup copy, and relevant log entry according to your retention process.
Use these conditions to choose local, internal, or remote hosting
Use the following decision branches before renting infrastructure or opening firewall access:
- If you are validating one model and one workflow, choose local first. Move on only after the full request and persistence loop works.
- If several trusted users need shared history, choose an internal host. Add a central secret, controlled accounts, and scheduled backups.
- If users work from different networks, choose a private remote deployment. Require a proxy, TLS, authentication, and persistent storage before sharing the URL.
- If outside users need access, pause and define quotas first. If you cannot identify who can submit a request and how you will stop abuse, fall back to private access.
- If the project needs physical devices, local GPU access, or direct media hardware, do not assume a cloud Mac is suitable. Keep that workload local or select infrastructure designed for the required interface.
- If you need temporary testing, demos, or a controlled remote workstation, consider a rented Mac. Use a persistent disk plan and isolate the API key from end users.
This is the key distinction between a self-hosted AI deployment and a simple browser tool: you own the credential boundary, the storage lifecycle, and the failure handling.
Where a rented Mac fits the operating model
A personal laptop is convenient for the first trial, but it becomes a weak team host when it sleeps, changes networks, runs out of disk, or mixes personal files with shared project data. A generic public server can be cheaper for some workloads, but it may not match the macOS-based development and testing environment you need. It also adds another layer when your team already validates Apple-platform workflows.
A rented Mac is a reasonable middle option for temporary remote access, a repeatable demonstration environment, or a small team that needs a persistent workstation without buying hardware. VPSSpark can be considered when you need a remote Mac workspace with a defined access path; check the available regional Mac options against your users, compliance needs, and network latency before choosing.
The important limitation is workload shape. Long-running, predictable heavy generation may justify owned hardware or a specialized compute plan. Physical peripherals may also make local hardware the better choice. For a temporary Open Higgsfield deployment, however, a remote Mac can keep the application, data directory, and browser-accessible workbench in one controlled environment while you evaluate adoption.
The best experience comes from isolating the OpenRouter key, keeping the data directory persistent, and granting users only the access they need. Renting the Mac is not a substitute for those controls. It gives you a practical host on which to apply them.
Common deployment questions
The answers below cover the five decisions most likely to block a first deployment: installation, API setup, persistence, public protection, and storage planning.
These checks should be completed before you invite a team member or publish a remote URL.
[FAQ content is available in the page metadata for the collapsible FAQ component.]
For a local proof of concept, start with the repository’s documented runtime and a restricted test key. For a team environment, add shared persistence and a restore test. For a remote environment, treat authentication, TLS, quota protection, and privacy cleanup as required work, not optional polish. If you need temporary remote capacity after those decisions are clear, VPSSpark’s Mac rental route can provide a more controlled testing environment than leaving a personal laptop online or exposing an unprotected development machine.
Run Your AI Workbench on a Remote Mac
Deploy your AI image and video workflows on a dedicated VPSSpark Mac environment.
Access your remote Mac from anywhere for development, testing, and internal team use.