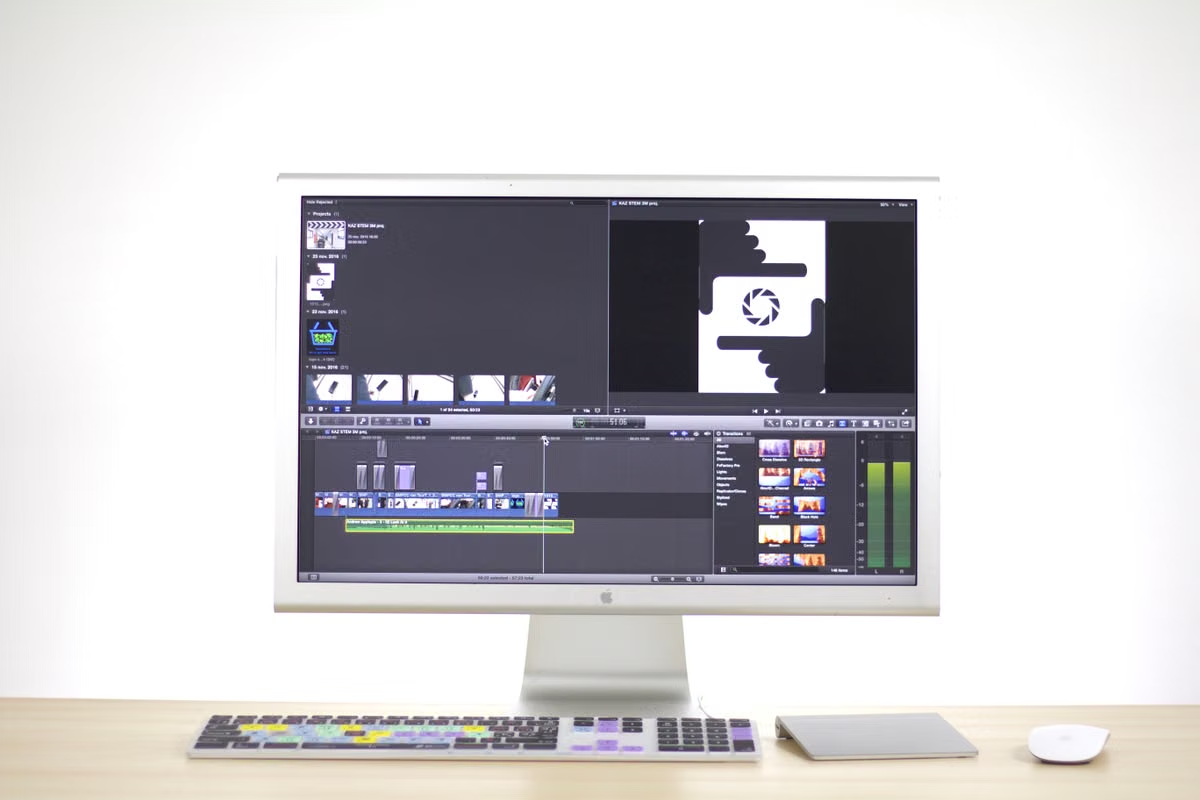
Use a real Mac remotely if you need Final Cut Pro from Windows; Final Cut Pro has no native Windows version, and ordinary compatibility layers do not provide a supported full workflow. If you edit only occasionally, rent access for the project. If you edit continuously and depend on local capture, monitoring, or storage hardware, consider buying a Mac instead.
This week’s action: prepare a small test project, list its media and plugin dependencies, then validate the remote connection before moving the full Library.
This guide is for:
- Windows-only editors who must deliver in Final Cut Pro.
- Freelancers taking over a Final Cut Pro project without buying a Mac immediately.
- Small creative teams that need a shared macOS editing environment across locations.
How to use Final Cut Pro on Windows 2026: start with the support boundary
Apple lists Final Cut Pro for Mac as a macOS application. Apple also offers a separate iPad version. Its official product and App Store pages do not provide a native Windows edition. That means the reliable path is not to install Final Cut Pro on Windows, but to operate a real Mac remotely. See Apple’s Final Cut Pro product page and the official App Store listing before planning your workflow.
This distinction affects your project planning:
- The application runs on the remote Mac, not on your Windows computer.
- Your Windows device displays and controls the Mac desktop.
- Rendering, media analysis, Library access, and export happen on the Mac.
- Your network affects control and preview quality, but it does not turn Windows into a Mac.
- Plugins, fonts, LUTs, account access, and project assets still need to exist in the remote environment.
A remote Mac is a good fit for a short film, client handoff, course project, or temporary editing contract. It is less suitable when you must connect a physical camera, specialist audio interface, control surface, calibrated monitor, or other local hardware with minimal delay.
Before connecting: check the project, account, and dependencies
Do not select a remote machine by chasing the highest advertised specification. First inspect the project itself. Resolution, codec, timeline length, effect density, number of audio tracks, delivery deadline, and plugin requirements affect the right choice more than a generic performance label.
Final Cut Pro’s system requirements and supported features can change. Confirm the current details on Apple’s technical specifications page, then check the software already available on the remote Mac.
Create this preparation list before you pay for access:
| Item to confirm | Why it matters | What you should record |
|---|---|---|
| Final Cut Pro and macOS compatibility | An incompatible application or operating system can block the project before editing begins | The versions shown by Apple and the remote Mac |
| Apple account and authorization | Libraries, purchases, plugins, and media tools may use separate sign-in or license checks | Which account is required and who controls it |
| Library location | A Library can contain media, cache files, and project data in different locations | The working folder and backup destination |
| Fonts, LUTs, and plugins | Missing dependencies can change titles, color, transitions, or effects | A complete dependency list |
| Storage plan | Original media, proxies, render files, and backups consume different types of space | Expected project footprint and cleanup policy |
| Delivery method | Large project files are inefficient to move repeatedly | Which files will remain remote and which files must be downloaded |
Use a duplicate of the project for your first test. Do not open the only copy directly on a newly provisioned environment.
For licensing, check the current terms for Final Cut Pro, plugins, stock media, fonts, and music. A remote Mac changes where the software runs, but it does not remove the publisher’s authorization rules.
First connection: secure the Mac before opening the Library
Step one: obtain access and sign in
Choose a remote Mac plan that matches the expected project period. VPSSpark provides remote Mac access through methods such as VNC, SSH, or a web console, depending on the available service arrangement. Review the VPSSpark service information and confirm the access method before starting the project.
After receiving access:
- Sign in through the supplied control panel or connection details.
- Confirm that the desktop belongs to the assigned Mac.
- Open System Settings and check the user account and available storage.
- Change any temporary credentials immediately.
- Confirm how you will sign out at the end of the rental period.
- Avoid placing passwords, client contracts, or private keys in shared folders.
- Check whether clipboard sharing and file transfer are enabled.
Windows keyboards can feel unfamiliar in macOS applications. In many remote desktop tools, the Windows Control key maps to the Mac Command shortcut, while the Alt key may correspond to Option. Test common actions such as copy, paste, undo, zoom, and application switching before you begin. The exact mapping depends on the connection tool and its keyboard settings, so verify it rather than assuming every shortcut will behave identically.
Set a sensible display resolution and use full-screen mode only after the connection is stable. A larger remote desktop can make the interface easier to read, but it may also increase the amount of screen information being transmitted. For cutting, prioritize responsive controls over a visually large canvas.
Experience note: Treat the first session as an acceptance test. Open a tiny project, move a short clip through the complete workflow, and export it before uploading your client’s full media set.
Move the Windows media without creating a broken Library
There are three common transfer patterns. Each is suitable for a different project shape.
| Transfer method | Best for | Main risk | Recommended control |
|---|---|---|---|
| Planned batch upload | One-off projects or a complete handoff | A failed transfer may leave incomplete media | Upload in named folders and verify the file list |
| Cloud synchronization | Teams reusing media across sessions | Sync conflicts and placeholder files | Wait for full local availability on the remote Mac |
| Direct transfer inside the remote desktop | A few small clips or documents | Slow interaction and unclear transfer status | Use it only for test files or small assets |
The most important rule is to keep active media near the application. If Final Cut Pro repeatedly reads original footage across the network from your Windows computer, playback and skimming become dependent on both your home connection and the remote desktop session. Upload the source media to the remote Mac first. Then edit locally on that Mac while the remote desktop sends you the interface.
Start with a small sample:
- Copy several representative clips.
- Include the most demanding codec or resolution in the sample.
- Add one title, one audio file, one font, and any essential plugin.
- Import the sample into a test Library.
- Scrub, trim, render, and export a short section.
- Compare the result with the source and expected look.
- Only then transfer the complete project.
Final Cut Pro Libraries, media, cache files, and backups are related but not identical. Apple explains how to copy or move a Final Cut Pro Library and how to manage Library storage locations. Read those instructions before dragging folders between drives.
Avoid moving only the Library if the media is stored externally or referenced through separate locations. A project may open while clips remain offline. Conversely, copying every cache and generated file can waste transfer time. Identify what the Library contains, where original media lives, and where the backup should be written.
Prepare proxy media before the timeline becomes difficult
A remote Mac does not require your original footage to travel back and forth during every edit. The Mac can process the media locally while you receive an interactive desktop view. That is why storage placement and proxy editing matter more than repeatedly increasing the Windows computer’s specification.
Proxy media creates lighter working files for editing. Apple’s proxy file guidance and its instructions for creating proxy media and proxy projects describe the relevant workflow.
Use proxies when:
- The source footage is difficult to skim smoothly.
- The connection is stable but the remote preview still feels heavy.
- You need responsive trimming before effects and color work.
- Multiple people must access the same remote project.
- The timeline contains many layers, transitions, or generated effects.
A sensible editing sequence is:
- Import and organize the original media on the remote Mac.
- Generate proxies for the clips used in the first cut.
- Switch to proxy viewing for assembly and rough edits.
- Keep background tasks limited while you work.
- Render complex sections in stages instead of waiting for the entire timeline.
- Return to original or optimized media for the final quality check.
- Export only after confirming that the project is using the intended media mode.
Do not evaluate final sharpness, color, compression, or audio balance from a remote preview alone. Desktop streaming can change what you see and hear. Download a short test export to Windows and inspect it locally with the same delivery settings you plan to send to the client.
Choose the remote workflow by project economics
The decision is not simply “remote Mac or Windows.” You should compare a remote Mac, a purchased Mac, and a Windows replacement workflow against the actual project.
| Option | Strong fit | Weak fit | Cost pattern |
|---|---|---|---|
| Remote Mac rental | Short projects, temporary access, learning, travel, client handoffs | Heavy local hardware use or permanent offline work | Pay for the active project period |
| Purchased Mac | Continuous editing, repeated delivery work, local peripherals | Occasional use with long idle periods | Upfront hardware cost plus maintenance |
| Windows editing alternative | Projects that do not require Final Cut Pro or its Library format | Client mandates Final Cut Pro or a Mac-only plugin | Lower switching friction only when formats and tools remain compatible |
For occasional Final Cut Pro work, renting can avoid buying a computer that sits unused between contracts. For daily production, calculate the expected continuous use period and compare it with the cost of ownership. Include storage, backups, software authorization, maintenance, travel, and the value of local hardware access.
If you need to compare a regional access option, review the applicable VPSSpark remote Mac location before committing. Choose based on where you work, where the team is located, and how the project files will be transferred. Do not assume that the nearest-looking region is automatically the best choice; test the route with a small project first.
Export, download, and verify the finished deliverable
Export on the remote Mac. This avoids sending the entire original project back to Windows merely to render it. Download the finished master, review copy, captions, or selected project backup according to the handoff requirements.
Use this delivery sequence:
- Save the active Library before export.
- Confirm that original or intended high-quality media is selected.
- Check the timeline for offline clips.
- Review every audio track and mute state.
- Inspect titles, fonts, captions, and safe-area placement.
- Export a short section if the project has complex effects.
- Export the complete master on the remote Mac.
- Download the finished file to Windows.
- Open the downloaded file locally and check playback from beginning to end.
- Compare the file size, duration, frame behavior, audio, color, and captions with the delivery brief.
Keep a Library backup that can be restored. Apple documents Final Cut Pro project and Library backups. A backup is useful only if you know where it is stored and can retrieve it after the remote session ends. Do not confuse a rendered export with an editable project backup.
Close the project and remove unnecessary access
A finished export is not the end of the workflow. Before releasing the remote Mac:
- Confirm that the client received the required files.
- Keep the necessary Library backup.
- Remove sensitive source files if the retention policy allows it.
- Sign out of personal Apple accounts and creative tools.
- Remove temporary credentials and access tokens.
- Clear shared clipboard data and downloaded documents.
- Check whether the environment is retained, reset, or released.
- Record the folder location of any backup you intend to keep.
If a client project may return later, document the Library location, plugin list, font list, media structure, and export settings. That record can save more time than a faster initial upload.
FAQ: completing a Final Cut Pro project from Windows
Can Final Cut Pro be installed directly on a Windows PC?
No. Apple lists Final Cut Pro for Mac as a macOS application and provides a separate iPad version, but not a native Windows release. Compatibility layers and unofficial workarounds do not provide a dependable supported workflow. For a real project, connect to a Mac and run Final Cut Pro on that Mac instead of trying to install it locally on Windows.
How can you open a Final Cut Pro project without owning a Mac?
Use a remote Mac with Final Cut Pro installed and access it from your Windows computer through a desktop connection. Upload the Library and its required media to the remote Mac, then open the Library there. Keep the Library, media, cache, fonts, LUTs, and plugins together so the project does not open with missing assets.
Will remote Mac video editing feel laggy?
It can, especially when your connection has unstable latency, packet loss, or limited upload capacity. The remote desktop sends the Mac’s screen to you while the Mac processes the project. Keep original media on the remote Mac, use proxy media for difficult footage, lower playback quality, and avoid judging final color or audio from a compressed remote preview alone.
What is the safest way to move Windows footage into Final Cut Pro?
Upload a small test batch first. Confirm that the media, audio, captions, fonts, and plugins work before sending the full project. For repeated work, use a synchronized cloud folder or a planned upload location. For one-off jobs, upload the Library and media in a controlled batch, then verify file completeness before editing.
Should occasional Final Cut Pro users buy a Mac or rent one?
Renting usually fits occasional projects, short contracts, learning, and travel because you pay for access only when the work exists. Buying is easier to justify when you edit continuously, need local monitoring or capture hardware, or want permanent offline access. Compare project frequency, expected use period, peripheral requirements, and your willingness to maintain the computer before deciding.
Make the rent-or-buy decision after the test project
Use a remote Mac when your work is project-based, your client requires Final Cut Pro, and you can keep media and rendering on the remote machine. Buy a Mac when editing is a daily activity or when your workflow depends on physical capture, monitoring, audio, or control hardware. Use a Windows alternative only when the client, project format, plugins, and delivery process allow it.
Your current Windows-only setup has three practical drawbacks for this use case: Final Cut Pro cannot run natively, unsupported workarounds create authorization and stability uncertainty, and switching to another editor can introduce project and plugin migration work. Buying a Mac solves those issues but leaves you responsible for the full hardware purchase, maintenance, storage, and idle time.
For an occasional assignment, a VPSSpark Mac rental can be the lower-risk test. First write down the project duration, source media volume, plugin list, and expected access period. Then review a suitable VPSSpark Mac rental option, upload a small sample, and validate the complete workflow before moving the client’s full project.
Edit with Final Cut Pro on a Remote Mac
Rent a dedicated Mac mini from VPSSpark and access macOS remotely from your Windows PC.
Choose the M4 configuration, billing cycle, and deployment region that match your editing workload.