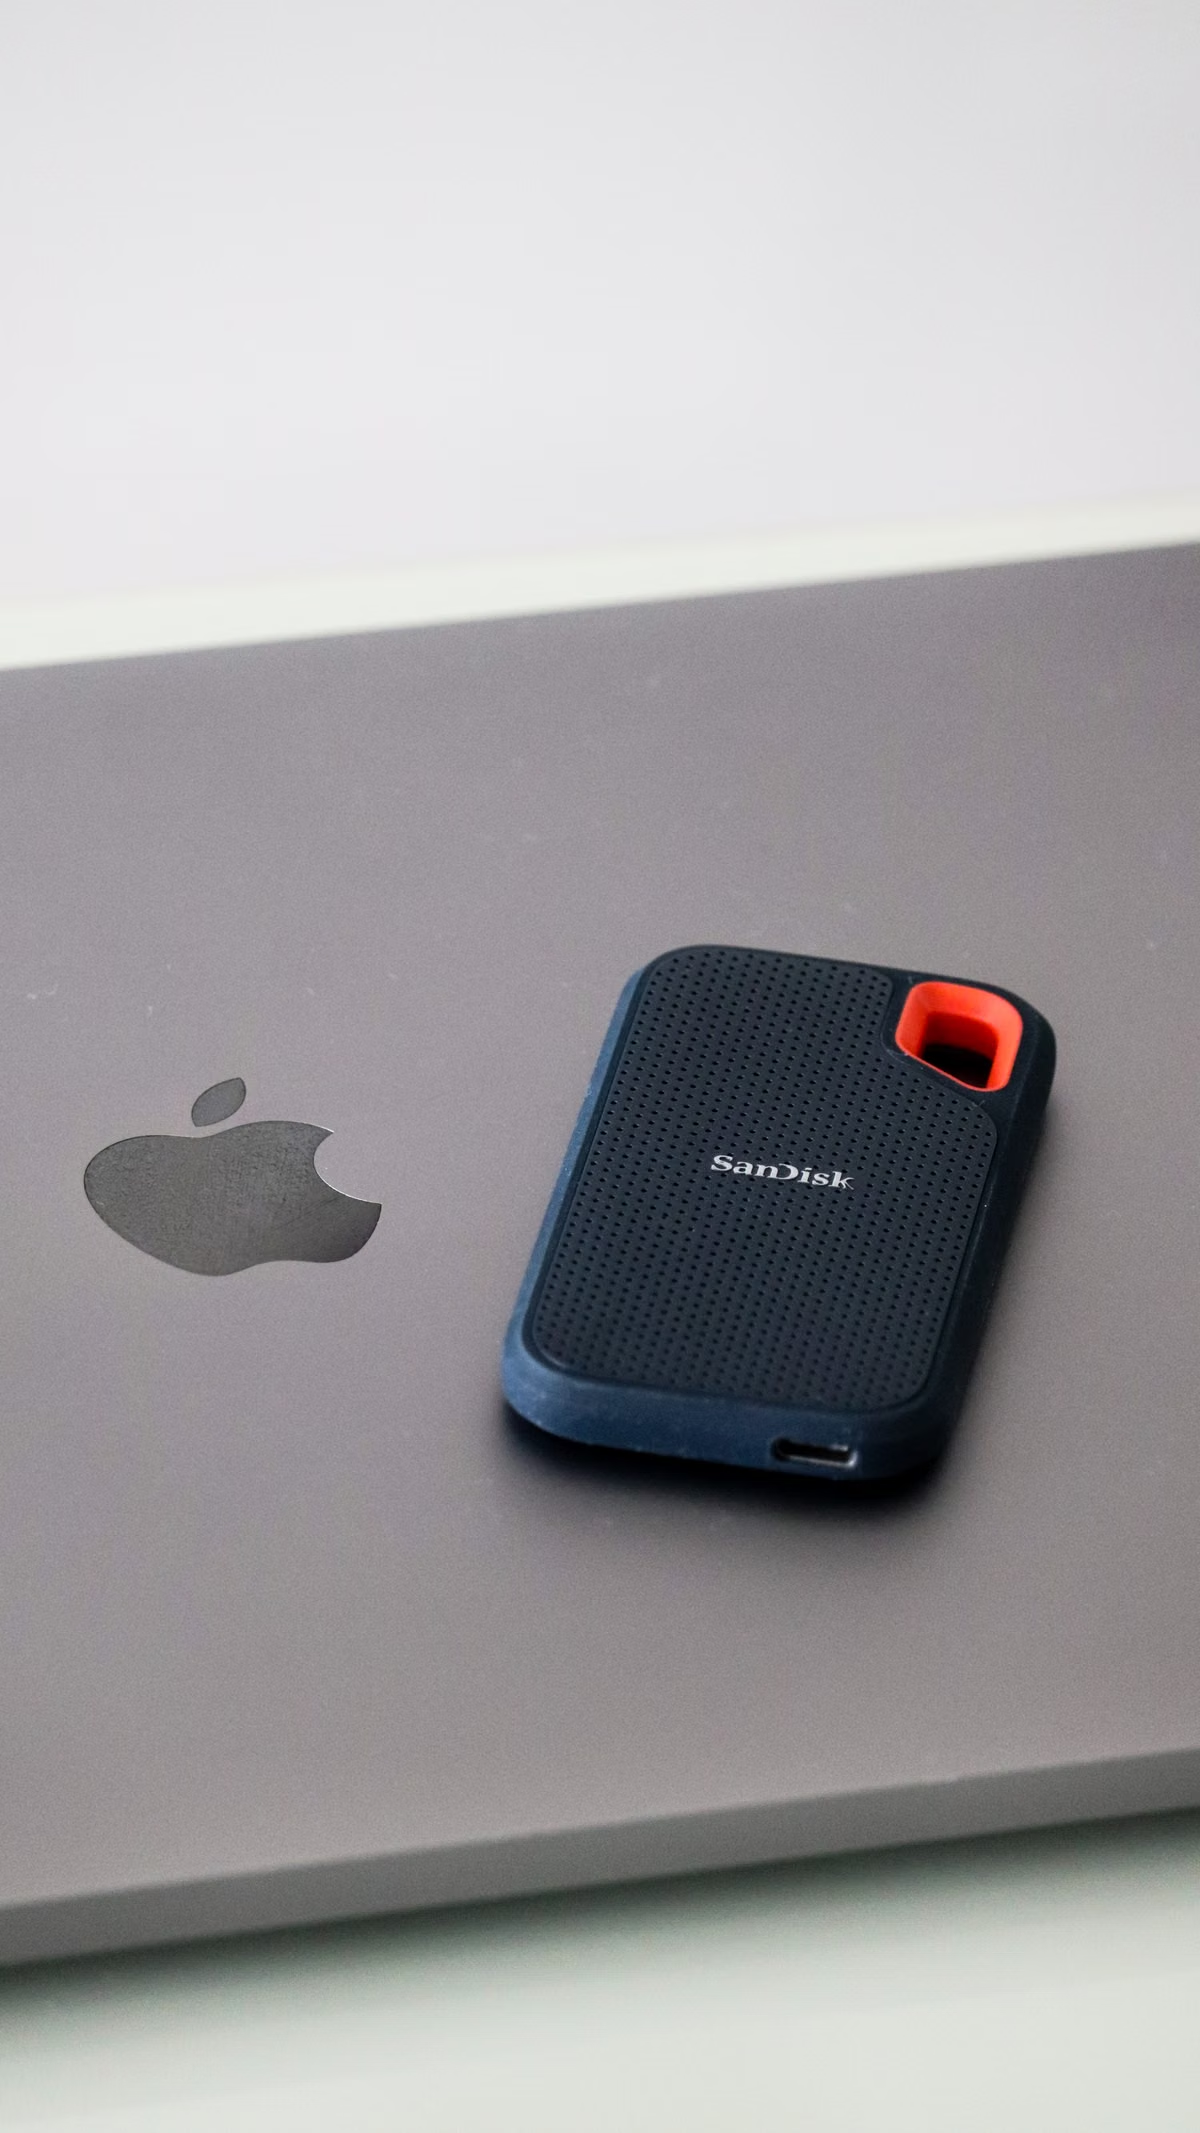
A deleted project, a failing Mac, or a new computer can leave you unsure which copy is safe to use.
This week: set up Time Machine for Mac data backup and recovery, keep iCloud for the items you choose to sync, and copy critical files to a separate external drive. Before you migrate, complete a backup; after migration, check files, accounts, and essential apps.
This guide is for you if you’re setting up Mac backups for the first time, preparing to replace or reinstall a Mac, or trying to protect important work from accidental deletion or device failure.
Choose a backup combination that matches the risk
These tools do different jobs. Time Machine makes backups you can use to recover files or transfer data. iCloud keeps selected items in sync. An external drive can hold a separate copy, either as a Time Machine destination or as files you copy yourself.
| Method | Best fit | What it helps you recover | Main limitation | Fit rating |
|---|---|---|---|---|
| Time Machine | Routine backup and recovery of Mac data | Previous versions of files and backed-up data | Requires a connected backup destination and a completed backup | High for recovery |
| iCloud | Keeping supported, selected content in sync | Synced content, subject to its settings and recovery options | Sync is not an independent, complete Mac backup | High for access across devices |
| External drive copy | Keeping an extra copy of chosen files | The files you actually copied and can read | A manual copy does not include Time Machine history or uncopied files | High for critical files |
| Migration Assistant | Moving data to another Mac | Selected data and settings transferred during migration | It moves data; it does not replace an ongoing backup plan | High for a new Mac |
For most people, the sensible combination is Time Machine plus iCloud for the content they want synced. Add a separate external-drive copy for files that would be difficult to recreate. The right mix depends on what you need to restore: one file, a set of working documents, or data and settings on another Mac.
Apple recommends that a Time Machine backup disk have at least twice the storage capacity of your Mac. Treat that as a capacity guideline, not a guarantee that every backup will fit: check your Mac’s used storage and the contents you plan to back up before choosing a disk. See Apple’s Time Machine setup and capacity guidance.
A useful distinction is whether the copy is independent. Synced files can reflect changes made elsewhere. A manually copied file can remain untouched on a separate drive, but only if you copied it and can open it. A Time Machine backup provides a different recovery path, with backup history. None of these should be assumed to protect every item until you confirm what they include.
Set up and check a Time Machine backup
Before you start, connect a disk that you can dedicate to backups or that has enough available space for the backup you intend to keep. Apple documents supported backup disk types in its guide to Time Machine backup disks. If the drive has files you need, copy them elsewhere before erasing or reformatting it.
- Open Apple menu > System Settings > General > Time Machine. Interface labels can differ on older macOS releases; follow the equivalent Time Machine settings shown on your Mac.
- Select Add Backup Disk or the option to add a disk, then choose the connected drive.
- Review the available options, including encryption if offered, and confirm the disk you intend to use. Don’t select a drive containing the only copy of files you still need.
- Leave the Mac connected to the drive while the initial backup runs. Use the status shown in Time Machine settings to check whether a backup is in progress or complete.
- After it finishes, open a few important folders in Finder and try a small restore to a safe test location. A visible backup status alone does not prove that a particular file is recoverable.
To restore a file, open the folder where it was stored, enter Time Machine, browse the available versions, select the item, and restore it. Check the destination afterwards. For a larger recovery or setup transfer, use the relevant macOS recovery or migration flow instead of treating a single-file restore as a full system recovery. Apple’s instructions for restoring a Mac from a backup describe the supported recovery path.
If the backup disk doesn’t appear, check its cable, connection, power, and whether it mounts in Finder or Disk Utility. If it appears but backups fail, confirm that the selected destination is still available and that the disk has usable space. Apple’s Time Machine troubleshooting steps cover additional checks. When an external drive appears read-only or won’t accept files, review Apple’s external drive writing and permissions guidance before changing its format.
Check what iCloud syncs—and what it doesn’t
iCloud is useful when you want supported content available on more than one device. It is not a full copy of your Mac. If you enable iCloud Drive or Desktop and Documents syncing, files in those locations can sync through iCloud. That does not mean every local folder, app, system setting, or application data file is included.
To review the settings on your Mac, open Apple menu > System Settings > [your name] > iCloud. Check whether iCloud Drive is on and review its options. Apple’s iCloud Drive settings guide explains how to check the setting and sync status. For Desktop and Documents, confirm whether those folders are selected; Apple describes the related Desktop and Documents syncing behavior.
Do not use a file’s presence on another device as proof that it has a separate backup. A rename, edit, or deletion can propagate through sync. If you remove a file accidentally, check the appropriate recovery options promptly. Apple says files deleted from iCloud Drive can generally be recovered from Recently Deleted within 30 days, unless they were permanently removed; check Apple’s iCloud file recovery conditions for the current limits.
If a document is critical, keep a separate copy before making a large cleanup or replacement. Check that the copy opens from its backup location rather than relying only on a cloud status indicator.
Keep a separate copy on an external drive
An external drive gives you another place to keep chosen files. You can use it as a Time Machine destination, store manual Finder copies, or reserve separate drives for those purposes. A Finder copy is convenient for project folders and archives, but it doesn’t automatically preserve previous versions or capture files you forgot to select.
- Choose what matters. Make a short list of folders you would struggle to recreate: current projects, source files, exports, and essential personal documents.
- Check the drive before copying. Connect it and confirm it appears in Finder. If you need to format it, first move any files you want to keep somewhere else. Formatting erases the contents of the selected disk.
- Copy rather than move. Drag the chosen folders to the external drive in Finder. Keep the originals on your Mac until you have verified the copies.
- Wait for the copy to finish. Don’t disconnect the drive while files are still transferring. If macOS reports a permissions or writing problem, check the drive settings and Apple’s external-drive troubleshooting guidance linked above.
- Verify the result. Open several files directly from the external drive, including a file from a project folder. Check that important subfolders and any files stored outside your main work directory are present.
- Eject safely. In Finder, eject the drive and wait for it to disappear before disconnecting it. Recheck the copy after major project changes or before erasing, repairing, or replacing the Mac.
Time Machine and manual copying solve different recovery problems. Use Time Machine when you need backup history or a route to restore backed-up Mac data. Use a manual copy when you want a clear, separately readable copy of selected files. If you need both kinds of protection, don’t assume one automatically provides the other.
Recover data based on where it came from
Before restoring anything, identify the most likely source: Time Machine, iCloud, or a manual external-drive copy. This prevents you from overwriting a newer version with an older one or assuming a file was backed up when it was only synced.
- For a file backed up by Time Machine: Open its original folder, browse the available backup versions, and restore the required version. Check its contents and destination after restoring.
- For a synced iCloud file: Check iCloud Drive and the available recovery options, including Recently Deleted when applicable. The available recovery path depends on the item and its deletion state; don’t assume a permanently deleted item can be recovered.
- For a manual drive copy: Find the matching folder on the external drive, copy it back to the intended destination, and open the restored file before replacing any current version.
- For broader Mac recovery: Follow Apple’s recovery or migration instructions for the situation. A full recovery is different from restoring one file, and available data depends on what the backup actually contains.
When the Mac is still working, avoid saving new files into the same location as a missing or damaged item until you have checked the available backups. If the drive containing the only copy is failing, stop treating it as a safe source for repeated file operations. Work from a separate copy where possible. After restoration, compare key filenames, folders, and recent project versions.
Prepare and verify a move to another Mac
Migration Assistant can transfer data from another Mac or from a Time Machine backup. It is a transfer tool, not a substitute for making a backup first. Apple’s Migration Assistant preparation and transfer steps explain how to prepare both Macs and follow the on-screen process.
- Back up the source Mac. Complete a Time Machine backup and make a separate copy of irreplaceable project files if needed.
- Prepare access. Make sure you know the account credentials needed on the old and new Macs. Keep both computers connected to power.
- Check the transfer source. Choose whether you’ll transfer directly from the old Mac or use a Time Machine backup. Confirm that the backup disk is readable before relying on it.
- Open Migration Assistant on both Macs. It is available in the Utilities folder. Follow the prompts and select the source and destination roles as shown on screen.
- Review what is selected. Check the accounts and data categories offered before continuing. Don’t assume an application will be ready to use simply because it appears in a transfer selection.
- Verify after the transfer. Open representative documents, check user accounts and settings, and launch the applications you rely on. For development or creative work, also check project folders, libraries, fonts, plugins, and files stored on external volumes.
- Keep the old copy for now. Don’t erase the source Mac or its backup until you’ve confirmed that important work is present and usable on the destination.
If something is missing, identify where it lived before migration. Look in the relevant Time Machine backup, iCloud location, or external-drive copy, then transfer that specific item and check it again. Don’t run a second full migration simply because one folder failed to appear; first establish whether the folder was part of the selected data and whether its source copy is intact.
If your work depends on a remote Mac environment, treat that as another source and destination to verify. File persistence, transfer, and local-to-remote synchronization are separate questions from the steps above. For context about VPSSpark, see the VPSSpark overview. If you need to confirm how a particular remote environment handles files before transferring work, you can contact VPSSpark with your file-persistence and transfer questions.
Use this recovery checklist before you erase or migrate
- [ ] Confirm which source contains the latest copy: Time Machine, iCloud, an external drive, or the current Mac.
- [ ] Check that the Time Machine backup reports a completed state and that a sample file can be restored.
- [ ] Open important files directly from any manual external-drive copy.
- [ ] Review iCloud Drive and Desktop and Documents settings; don’t count sync as a complete backup.
- [ ] Choose the correct restore destination and avoid replacing a newer file before checking its contents.
- [ ] After migration, verify accounts, documents, apps, and the project data you need to continue working.
- [ ] Keep the old Mac or backup source until those checks are complete.
FAQ
Which method should you use for a first Mac backup?
Start with Time Machine if you want a recurring backup you can use to restore files or move data. Keep iCloud enabled only for the content you want synced across devices. If a small set of files is especially hard to replace, add a verified external-drive copy. Before relying on any method, check its status and test that the intended files can be opened or restored.
What should you check when Time Machine cannot find a backup drive?
Confirm that the drive is connected, powered if necessary, and visible in Finder or Disk Utility. Check that the destination is still selected in Time Machine settings and has available space. If macOS reports a permissions issue or the drive mounts read-only, don’t erase it until you’ve checked whether it contains files you need. Use Apple’s current troubleshooting guidance for the specific alert.
Can iCloud recover a file after it is deleted?
Sometimes. The recovery route depends on where the file was stored, how it was deleted, and whether it was permanently removed. Check iCloud Drive’s Recently Deleted options and Apple’s current recovery conditions. For important files, keep an independent backup as well: a synced copy alone does not guarantee that an older version remains available after a change or deletion.
Should you use Migration Assistant or copy folders manually?
Use Migration Assistant when you want to transfer supported data and settings from another Mac or a Time Machine backup. Copy folders manually when you need a specific project or document in a known location. Either way, confirm the source is readable first and verify the destination afterwards. For application-specific files or creative projects, check the relevant folders and dependencies rather than assuming every item moved.
If your current setup depends on one Mac, cloud sync, or a manually maintained drive, its weak points are different: one device can fail, synced deletions can spread, and a copied folder can miss recent files. For a temporary Mac test or development environment, renting a Mac through VPSSpark may fit better than buying another machine solely for short-term work. Keep your own verified backup and migration checks in place; a rented environment doesn’t remove those responsibilities.
Make Your Mac Backup Plan Reliable
Choose a primary backup method and set a schedule you can maintain.
Test a file restore so you know your backup works before you need it.